操作环境
- 硬件:华为云服务器
- 操作系统:Rocky Linux 9.0 64bit
- 服务器软件:nginx 1.24.0,php 8.2.6,openssl 3.0.7,MySQL 8.0.33,WordPress6.2.2
- 客户端软件:MobaXterm_Personal 23.1
背景知识
Redis是什么

Redis 是完全开源的,遵守 BSD 协议,是一个高性能的 key-value 数据库,是众所周知的“数据结构服务器”,支持字符串, 哈希、列表、集合、排序集、流等。
Redis 与其他 key – value 缓存产品有以下三个特点:
- Redis支持数据的持久化,可以将内存中的数据保存在磁盘中,重启的时候可以再次加载进行使用。
- Redis不仅仅支持简单的key-value类型的数据,同时还提供list,set,zset,hash等数据结构的存储。
- Redis支持数据的备份,即master-slave模式的数据备份。
Redis的优势
- 性能极高 – Redis读的速度是110000次/s,写的速度是81000次/s 。
- 丰富的数据类型 – Redis支持二进制案例的 Strings, Lists, Hashes, Sets 及 Ordered Sets 数据类型操作。
- 原子性 – Redis的所有操作都是原子性的,意思就是要么成功执行要么失败完全不执行。单个操作是原子性的。多个操作也支持事务,即原子性,通过MULTI和EXEC指令包起来。
- 丰富的特性 – Redis还支持 publish/subscribe, 通知, key 过期等等特性。
使用Redis有什么好处
使用Redis可以大大提高网站的读写性能,提高响应速度,增强客户体验。
操作步骤
要在WordPress网站使用Redis,需要以下三个大的步骤:
- 一是安装Redis服务器;
- 二是安装php-redis扩展;
- 三是安装WordPress的redis插件。
本文将详细介绍redis服务器的安装、php-redis扩展的安装以及WordPress的redis插件安装。
Redis安装
查看最新版本
访问官网下载页面Download | Redis,查看redis的最新版本,发现稳定版为7.0,候选版为7.2-rc2。
复制候选版的下载链接:redis 7.2-rc2.tar.gz
下载源码安装包
用SSH客户端软件登录云服务器,在终端窗口运行以下指令:
|
1 2 3 4 |
[root@hecs-288529 ~]# cd /usr/local/src [root@hecs-288529 src]# wget https://github.com/redis/redis/archive/7.2-rc2.tar.gz |
如需下载到不同的目录,请自行修改。
指令执行完毕,会在当前目录下新建以下文件:
redis-7.2-rc2.tar.gz。
解压缩安装包
|
1 2 3 4 5 |
[root@hecs-288529 src]# ls mysql80-community-release-el9-1.noarch.rpm nginx-1.24.0 nginx-1.24.0.tar.gz redis-7.2-rc2.tar.gz [root@hecs-288529 src]# tar -zvxf redis-7.2-rc2.tar.gz |
解压后,当前目录下新增 redis-7.2-rc2子目录。
编译并安装
进入解压后的子目录,并运行指令: make && make PREFIX=/usr/local/redis install。
|
1 2 3 4 |
[root@hecs-288529 src]# cd redis-7.2-rc2 [root@hecs-288529 redis-7.2-rc2]# make && make PREFIX=/usr/local/redis install |
会将redis安装在指定目录下 /usr/local/redis。
配置redis
将配置文件 redis.conf复制一份到以下目录 /usr/local/redis/bin,
|
1 2 3 |
[root@hecs-288529 redis-7.2-rc2]# cp redis.conf /usr/local/redis/bin/ |
在SSH客户端软件MobaXterm_Personal 的SFTP窗口,进入相应目录,修改刚才拷贝的配置文件 redis.conf(用默认编辑器),在编辑窗口查找 daemonize参数,将其值有 no修改为 yes,并保存退出。
启动redis服务
进入刚才复制配置文件的目标目录 /usr/local/redis/bin,并运行以下指令 ./redis-server ./redis.conf启动redis服务。
|
1 2 3 4 5 |
[root@hecs-288529 redis-7.2-rc2]# cd /usr/local/redis/bin/ [root@hecs-288529 bin]# ./redis-server ./redis.conf 6985:C 28 May 2023 11:11:19.580 # WARNING Memory overcommit must be enabled! Without it, a background save or replication may fail under low memory condition. Being disabled, it can also cause failures without low memory condition, see https://github.com/jemalloc/jemalloc/issues/1328. To fix this issue add 'vm.overcommit_memory = 1' to /etc/sysctl.conf and then reboot or run the command 'sysctl vm.overcommit_memory=1' for this to take effect. |
我们发现,运行指令后输出了一条警告信息 Memory overcommit must be enabled!,并给出了具体的解决方案,我们待会再回头处理。
查看redis服务是否开启
方式一:查看进程
|
1 2 3 4 5 |
[root@hecs-288529 bin]# ps -ef|grep redis root 6986 1 0 11:11 ? 00:00:00 ./redis-server *:6379 root 6992 1838 0 11:11 pts/0 00:00:00 grep --color=auto redis |
方式二:查看端口号
|
1 2 3 4 5 |
[root@hecs-288529 bin]# netstat -lanp | grep 6379 tcp 0 0 0.0.0.0:6379 0.0.0.0:* LISTEN 6986/./redis-server tcp6 0 0 :::6379 :::* LISTEN 6986/./redis-server |
方式三:使用redis-cli命令行客户端
|
1 2 3 4 5 |
[root@hecs-288529 bin]# ./redis-cli 127.0.0.1:6379> quit [root@hecs-288529 bin]# |
开启Memory overcommit
To fix this issue add ‘vm.overcommit_memory = 1’ to /etc/sysctl.conf and then reboot or run the command ‘sysctl vm.overcommit_memory=1’ for this to take effect.
修改 /etc/sysctl.conf配置文件,在末尾添加一行 vm.overcommit_memory = 1,reboot重启服务器或者运行命令 sysctl vm.overcommit_memory=1使配置生效。
配置开机自启动
新建redis.service文件
在 /etc/systemd/system/目录新建 redis.service文件。
修改文件内容
并修改文件为如下内容:
|
1 2 3 4 5 6 7 8 9 10 11 12 13 14 |
[Unit] Description=redis-server After=network.target [Service] Type=forking # 下面这行配置内容的具体路径要根据redis的安装目录进行修改 ExecStart=/usr/local/redis/bin/redis-server /usr/local/redis/bin/redis.conf PrivateTmp=true [Install] WantedBy=multi-user.target |
保存退出。
重载修改过的服务配置文件
|
1 2 3 |
systemctl daemon-reload |
激活开机启动并立即启动
|
1 2 3 |
systemctl enable redis --now |
–now参数表示立即启动
查看redis服务状态
|
1 2 3 |
systemctl status redis |
重启redis服务
|
1 2 3 |
systemctl restart redis |
一般在修改过redis的配置文件后,需要使用上述指令重启redis服务。
php-redis扩展安装
安装phpize
在使用php的过程中,我们经常需要添加一些PHP扩展库。但是重新对php进行编译是比较麻烦的,这时候我们可以使用phpize对php添加扩展,并且phpize编译的扩展库可以随时启用或停用,比较灵活。其作用是在当前目录生成configure文件。
|
1 2 3 |
yum -y install php-devel |
查看PHP的redis扩展最新版本
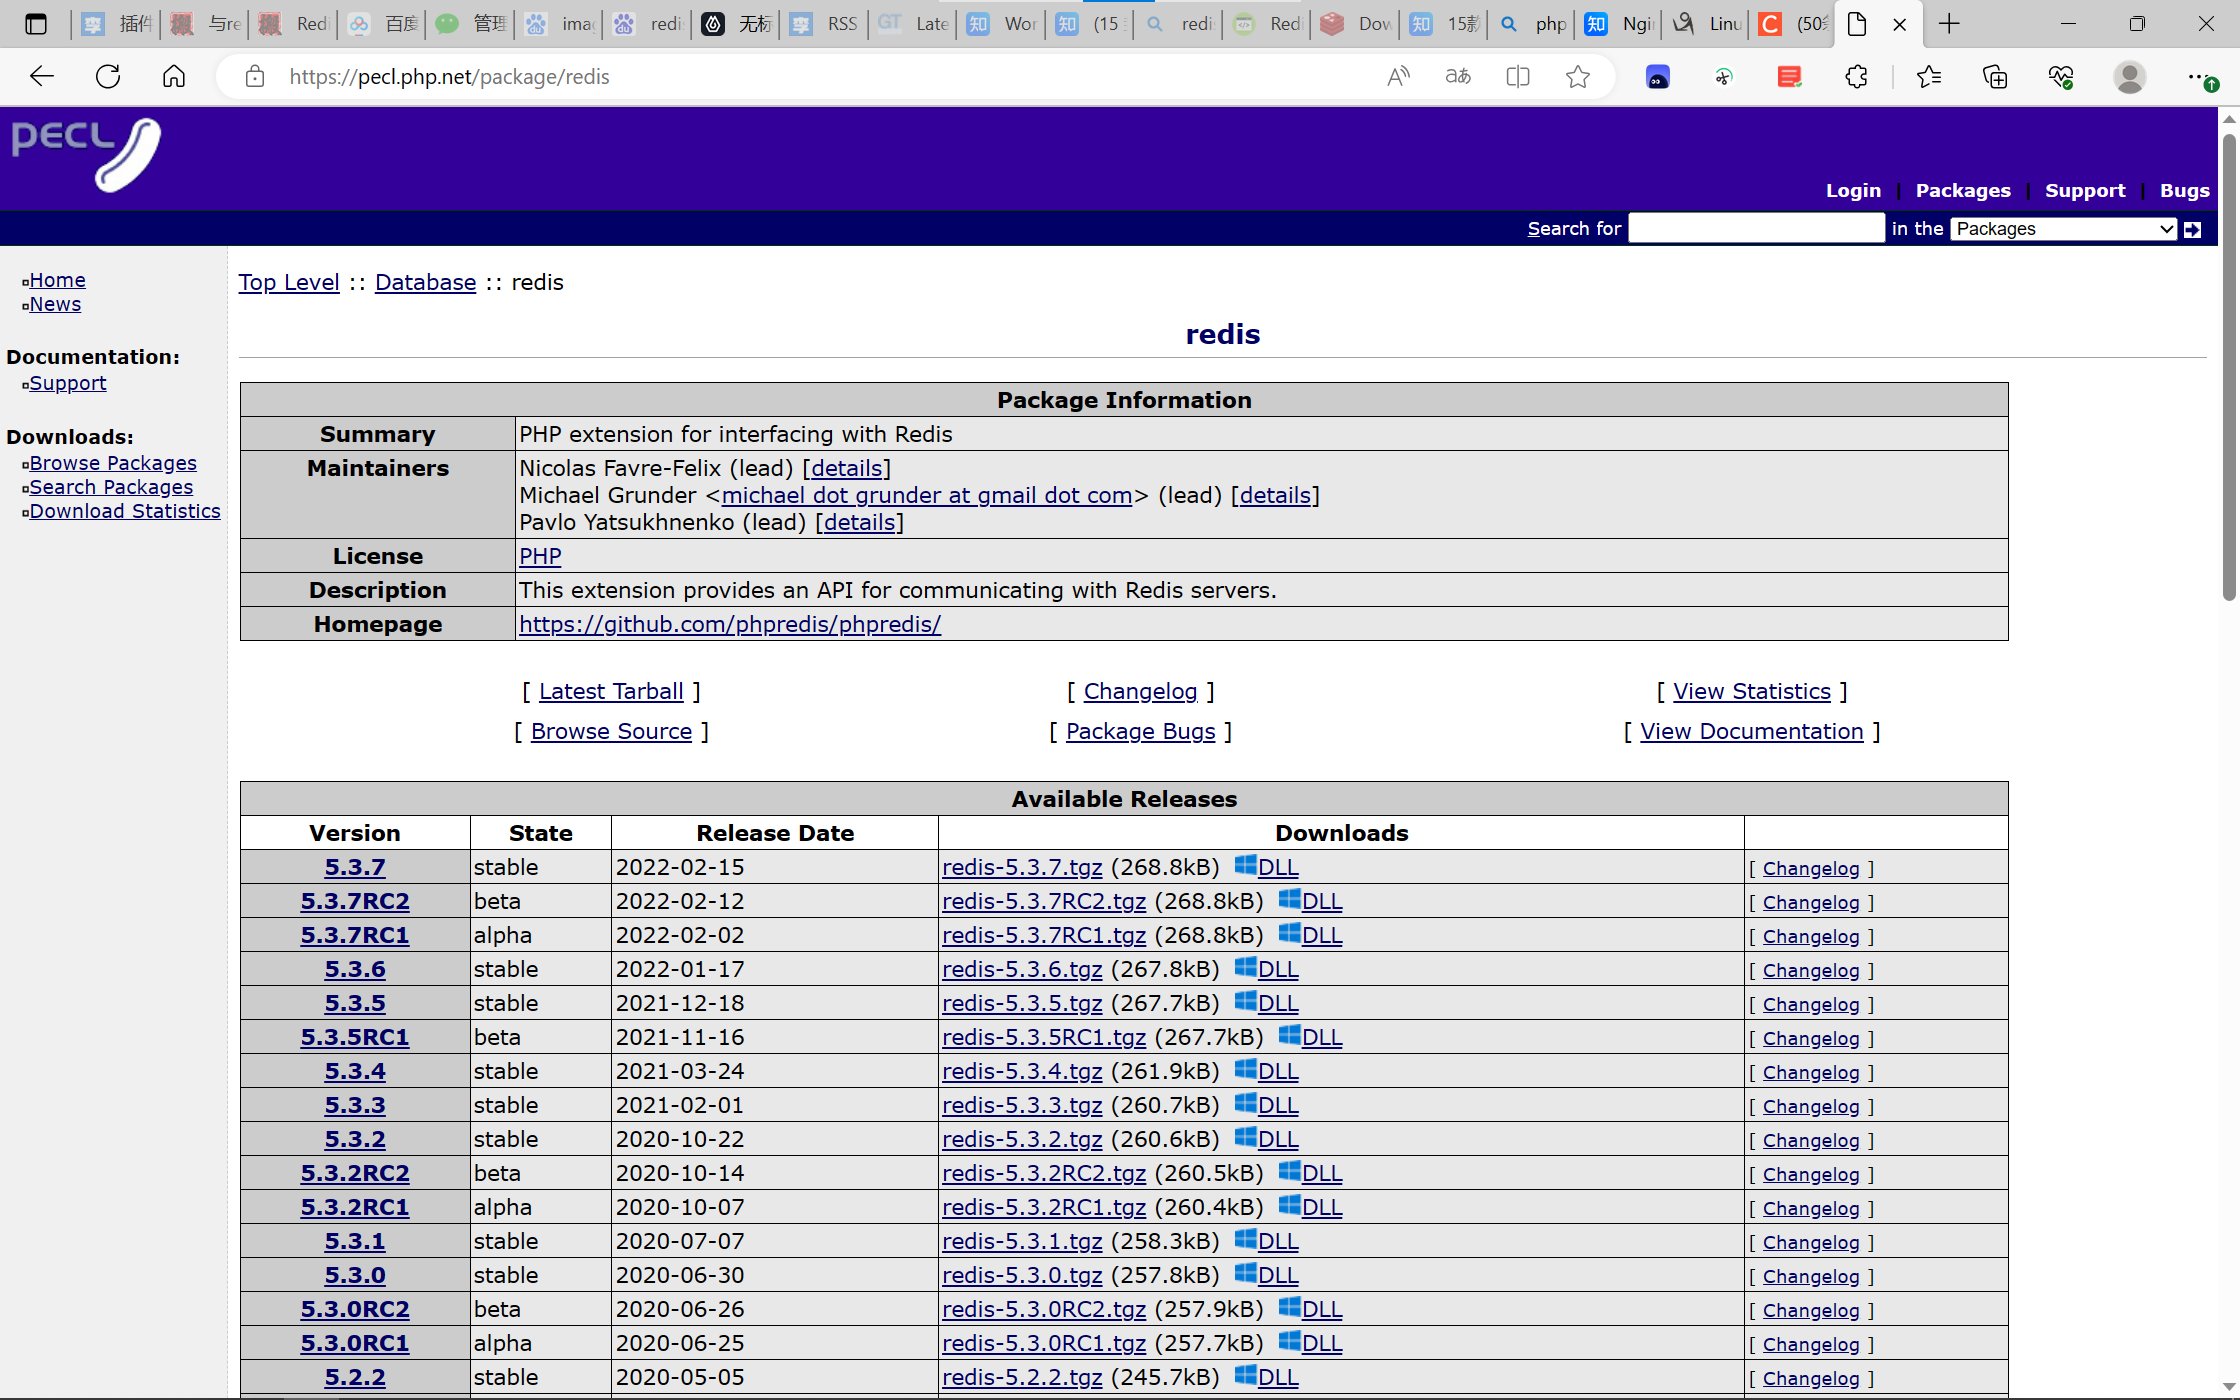
访问官网Fetching Title#6une查看PHP的redis扩展最新版本,发现目前最新稳定版为5.3.7。

复制其下载链接,后续要用。
下载PHP的redis扩展
|
1 2 3 4 |
cd /usr/local/src wget http://pecl.php.net/get/redis-5.3.7.tgz |
下载完毕,当前目录下会新增文件 redis-5.3.7.tgz。
解压缩安装包
|
1 2 3 |
tar -zvxf redis-5.3.7.tgz |
解压完成,会在当前目录下新生成子目录 redis-5.3.7。
配置、编译、安装
|
1 2 3 4 5 6 |
cd redis-5.3.7 phpize ./configure --with-php-config=/usr/bin/php-config make && make install |
请注意, configure命令中的路径要修改为你的系统中PHP的安装目录。可以使用命令 whereis php-config 查看。
创建扩展配置文件
进入 /etc/php.d文件夹创建 20-redis.ini文件,并写入如下内容:
|
1 2 3 |
extension=redis.so |
保存退出 。
重启php-fpm服务
|
1 2 3 |
systemctl restart php-fpm |
查看redis扩展是否安装成功
|
1 2 3 |
php -m|grep redis |
WordPress的redis插件安装
安装redis插件Redis Object Cache
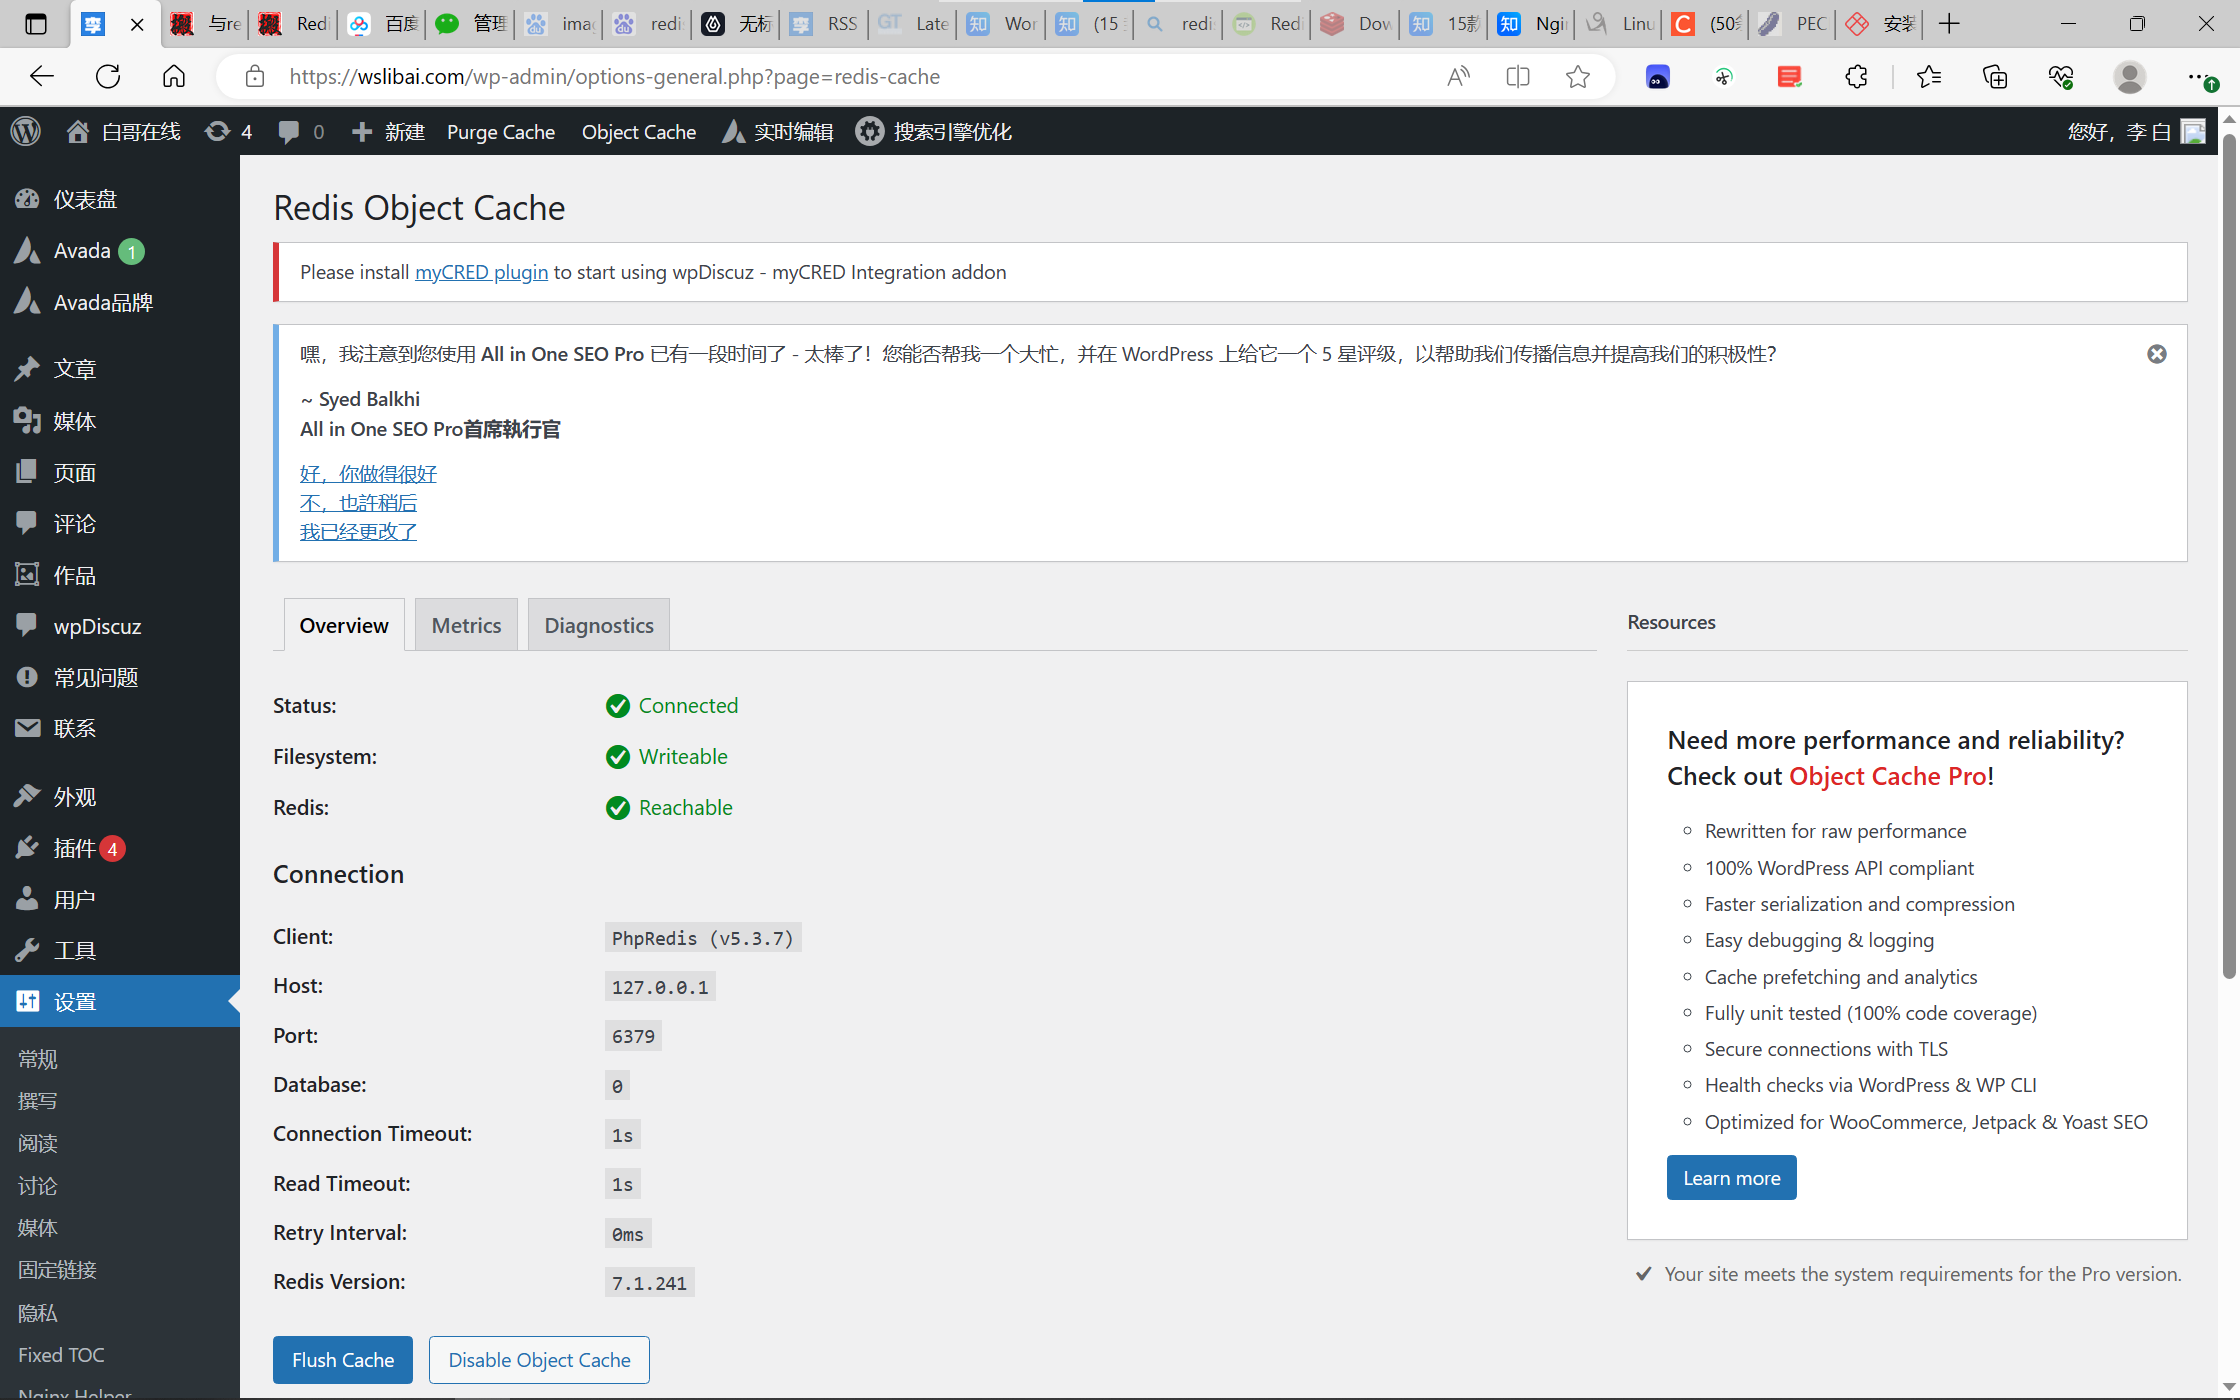
在网站后台管理界面,安装插件页面输入关键字 Redis Object Cache,安装插件 Redis Object Cache,并启用。
配置插件Redis Object Cache

可选安装收费版插件Redis Cache Pro
有需要的可选择安装收费版插件Redis Cache Pro。
注意,在开始之前,请务必卸载所有现有的对象缓存插件,例如 Redis 对象缓存和 WP Redis。此外,如果存在文件 /wp-content/object-cache.php,请将其删除。
配置插件Redis Cache Pro
修改 wp-config.php文件
在站点根目录下的文件 wp-config.php里加入如下代码:
|
1 2 3 4 5 6 7 8 9 10 11 12 13 14 |
define('WP_REDIS_CONFIG', [ 'host' => 'localhost', 'port' => 6379, 'database' => 0, // change for each site 'maxttl' => 3600 * 24 * 7, // 7 days 'timeout' => 1.0, 'read_timeout' => 1.0, 'split_alloptions' => true, 'debug' => false, ]); define('WP_REDIS_DISABLED', false); |
注意:不要将上述内容加到文件末尾,它将不会起作用。建议加在 ** Database settings的内容之后。在配置过程中,我曾经因为加错到文件末尾位置,配置不起作用,在移动到文件前面时,又误将原文件的最后两行一并移动到了前面,从而报错。详见下文“配置报错及解决”章节。
复制object-cache.php文件
从/wp-content/plugins/redis-cache-pro/stubs/复制文件object-cache.php到/wp-content/。
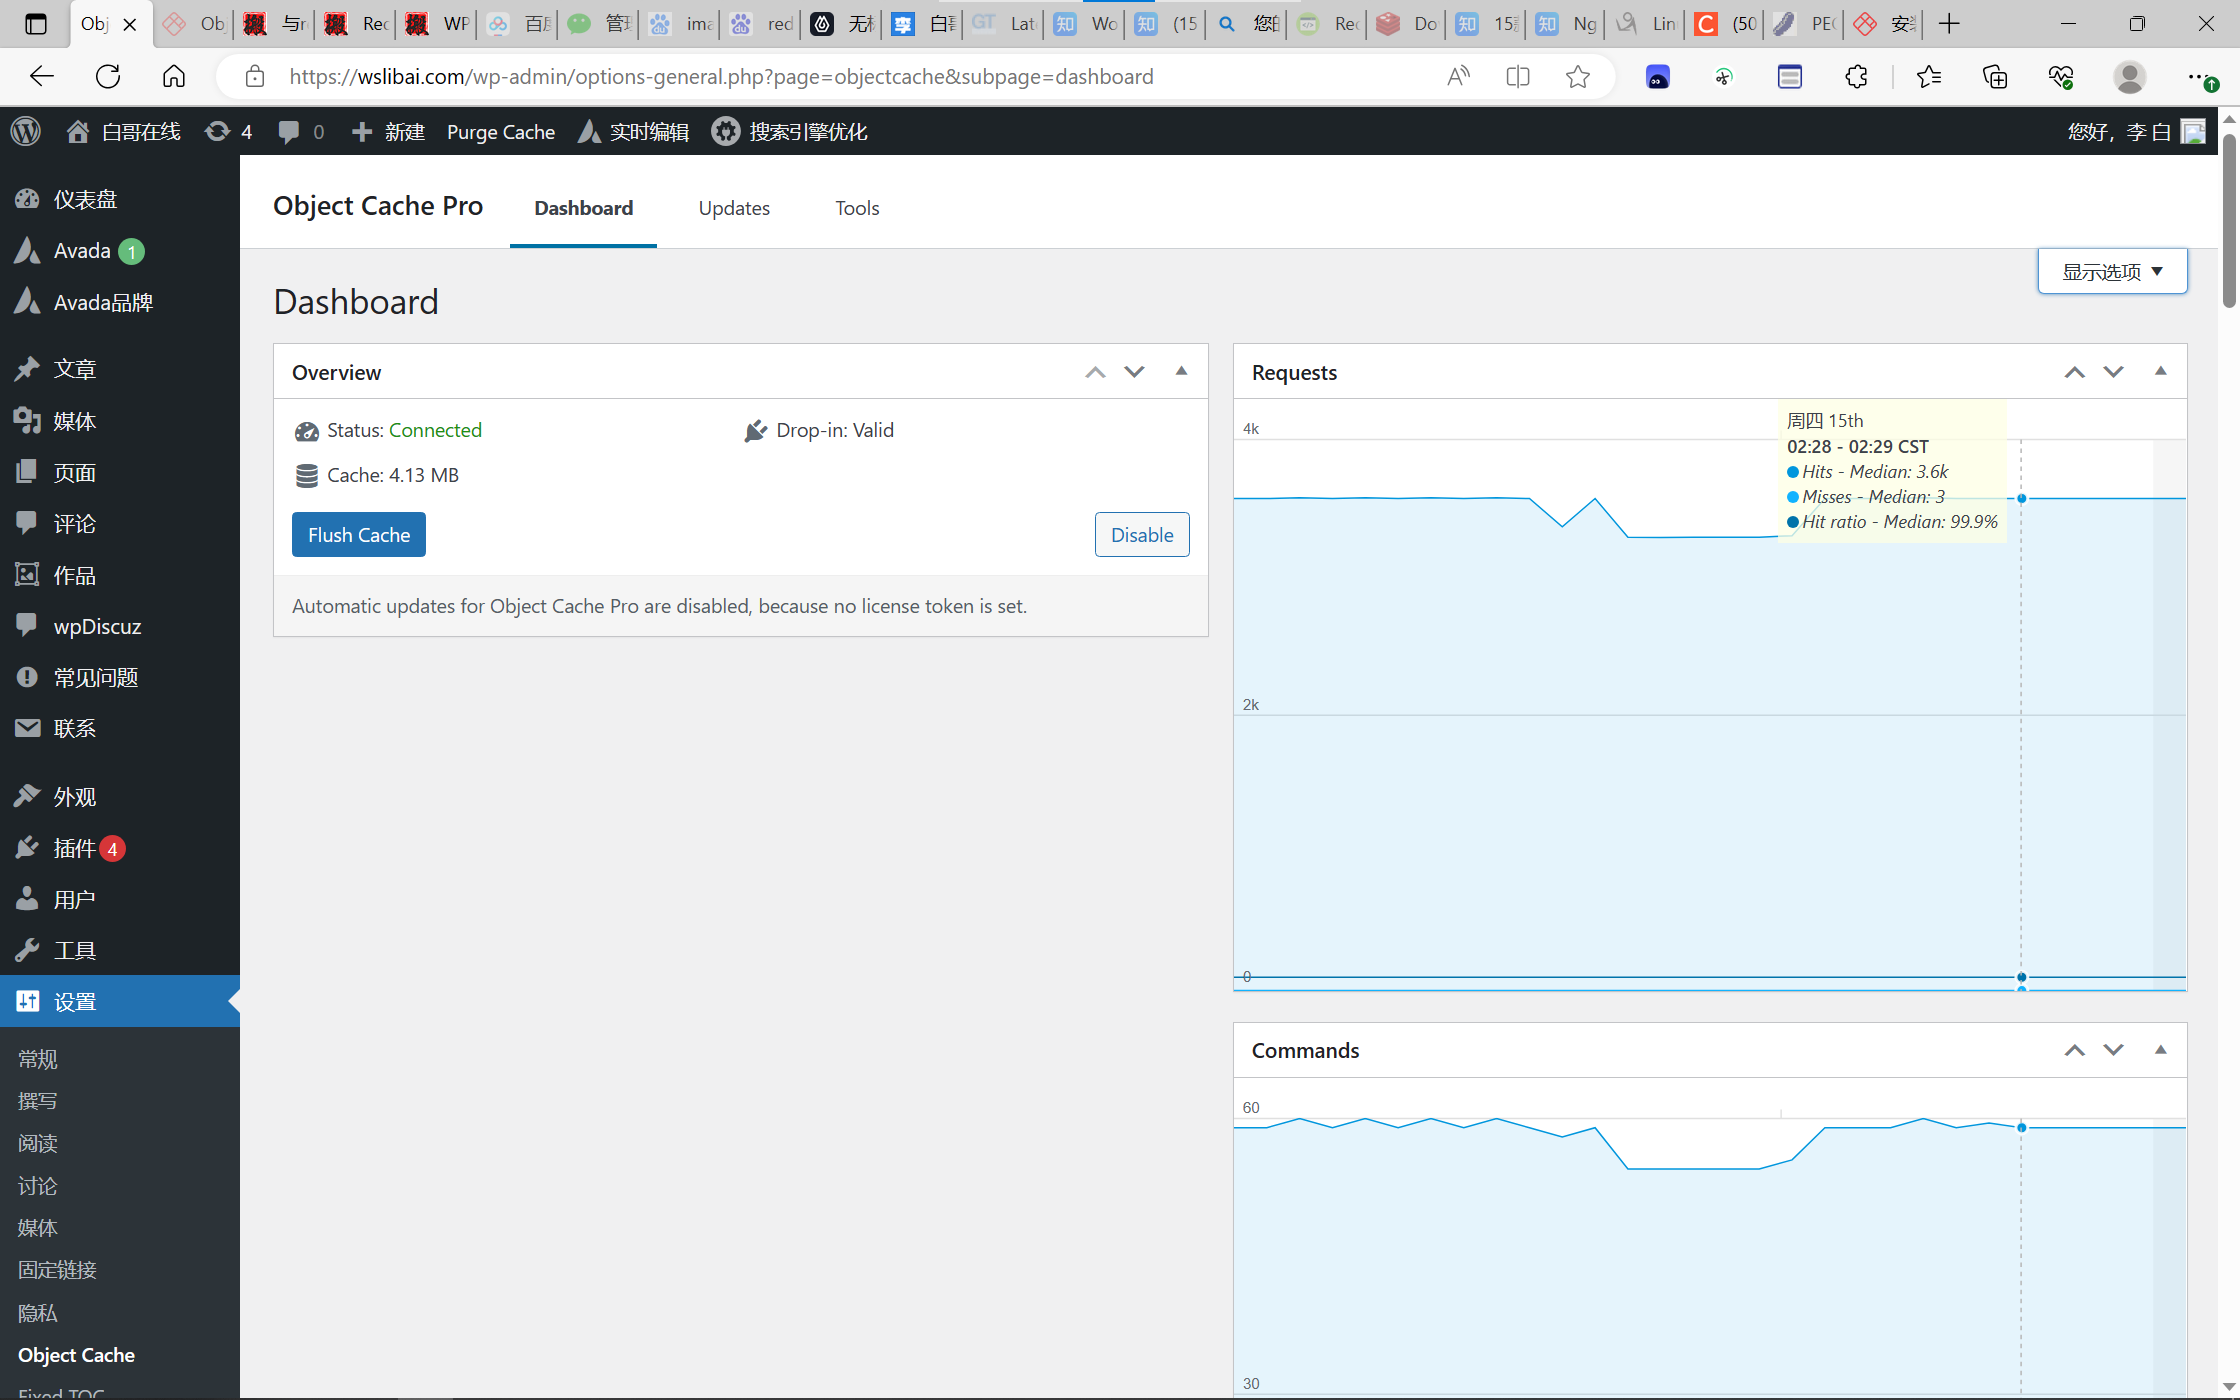
进入设置object cache插件页面
进入后台管理界面的设置object cache插件页面,可以删除cache、停止cache,并查看相关运行状态信息。

配置报错及解决
报错信息
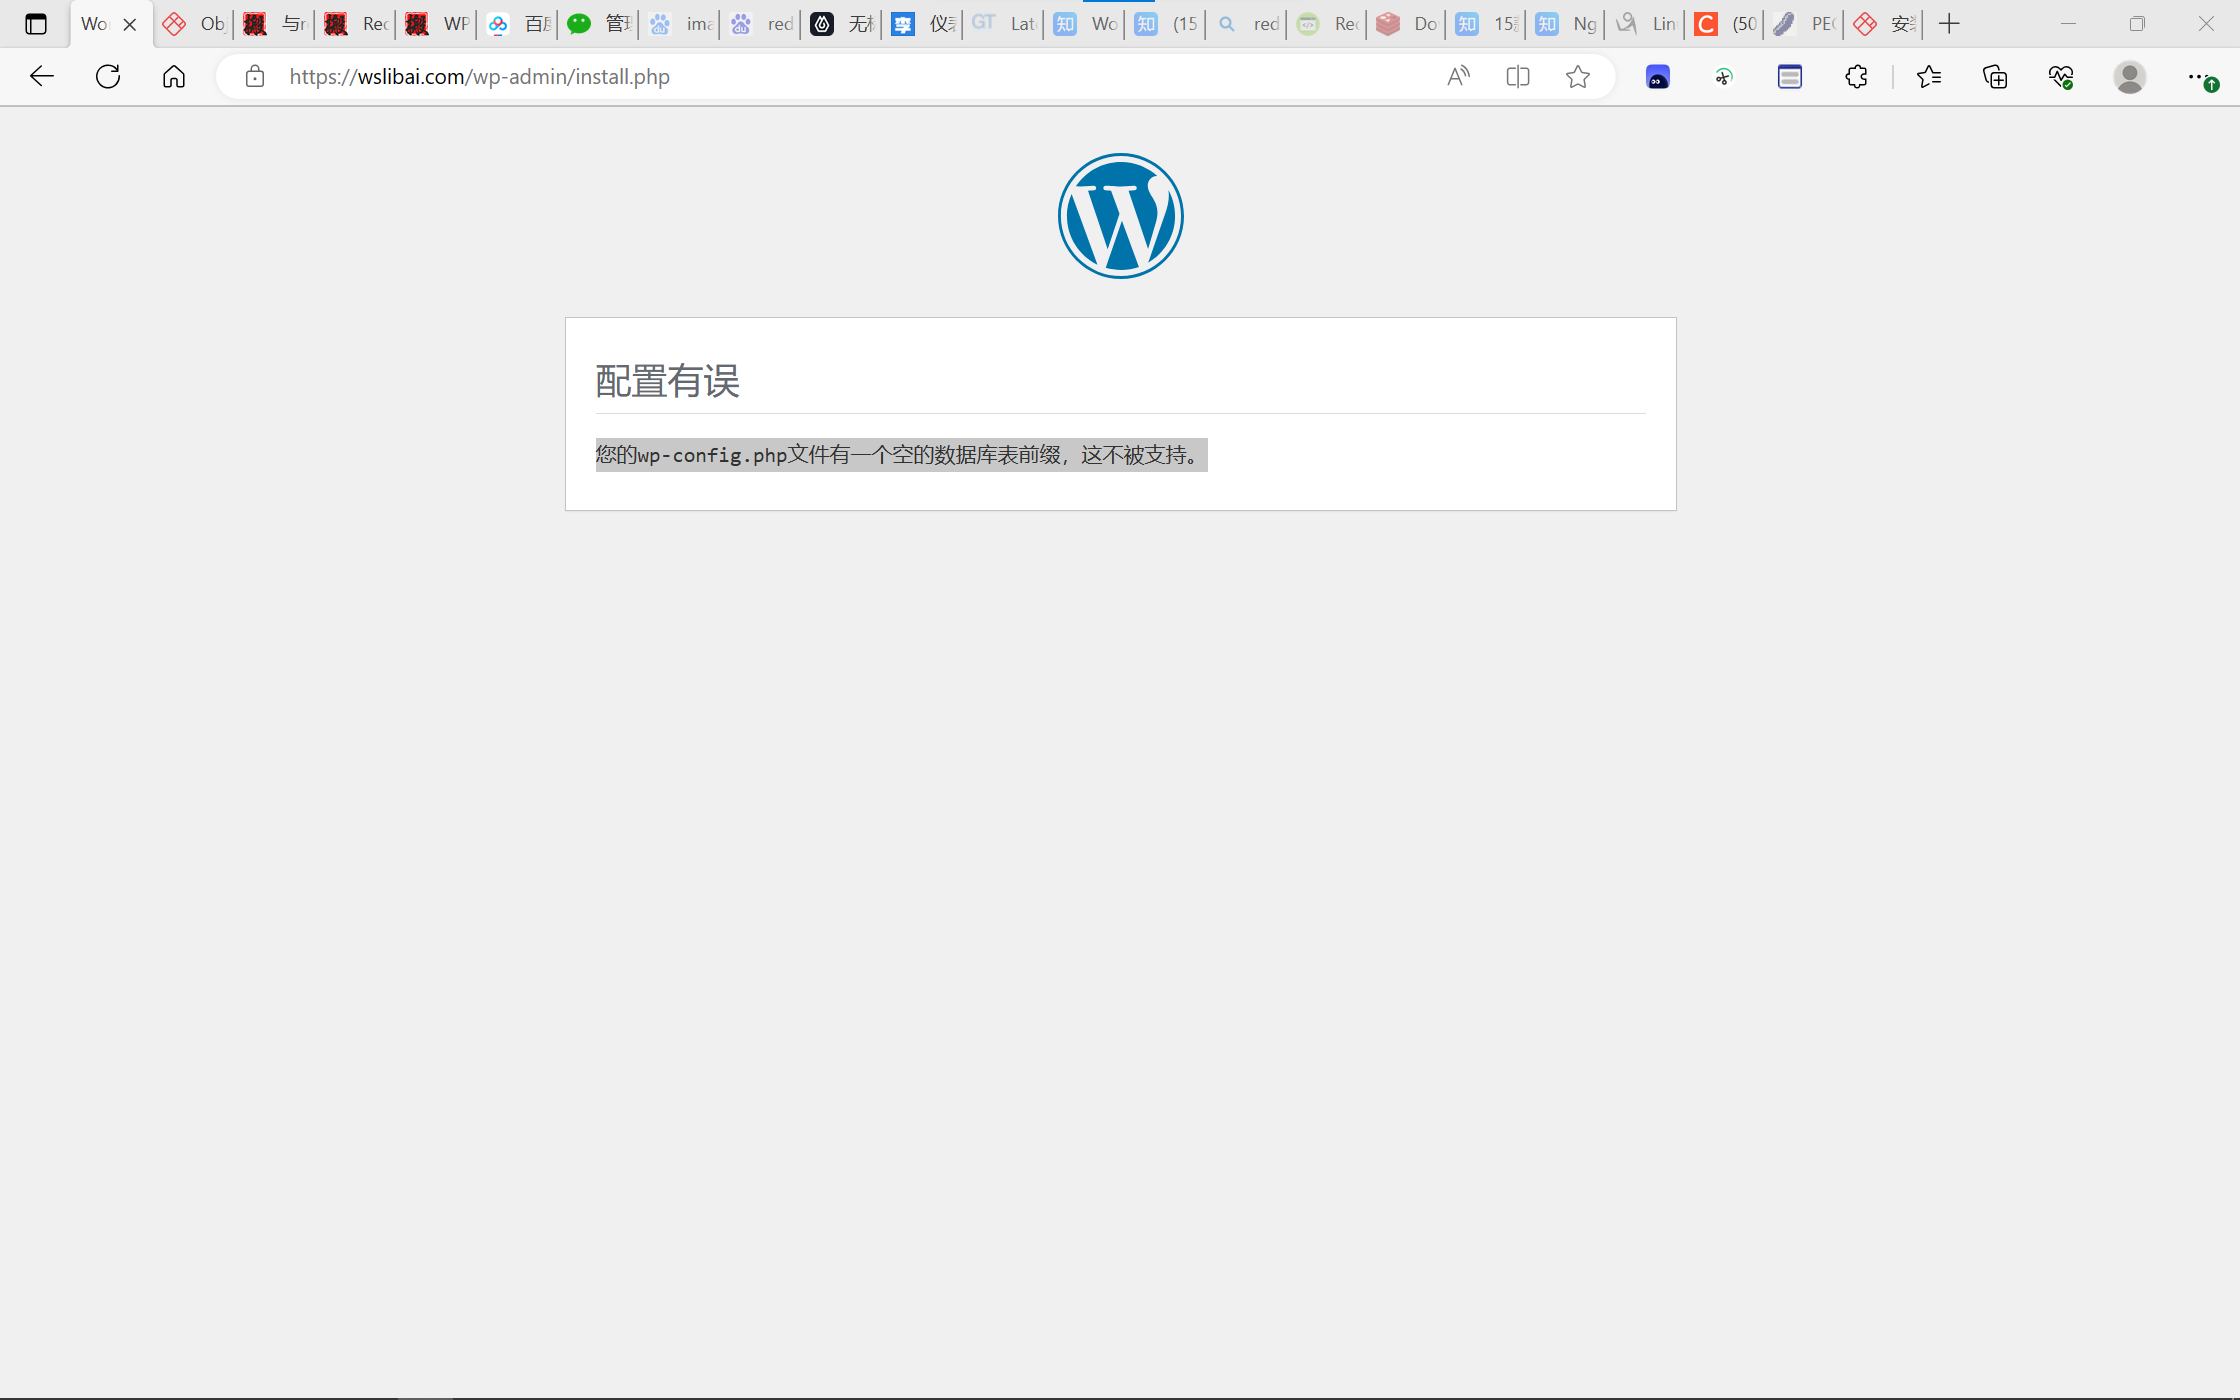
在配置插件Redis Cache Pro修改wp-config.php文件后,报错
您的wp-config.php文件有一个空的数据库表前缀,这不被支持。

原因分析与问题解决
经检查
wp-config.php配置文件,发现文件的最后两行内容被我误操作移动到文件前面去了(因我一开始是将新增的配置内容加在文件末尾,后台管理系统提醒我要将新加的配置信息放到前面),导致出现该错误,重新移动至文件末尾,问题解决。
下面是被误移动的那两行内容。
|
1 2 3 4 |
/** Sets up WordPress vars and included files. */ require_once ABSPATH . 'wp-settings.php'; |


This is a demo advert, you can use simple text, HTML image or any Ad Service JavaScript code. If you're inserting HTML or JS code make sure editor is switched to 'Text' mode.
[…] Redis安装指南 画廊 […]